HPGCC3 Quick Start for OS/X
Egan Ford <egan@sense.net>
Version 0.2
Dec 16 2008
Launch an xterm (or Terminal, however X11/xterm is
recommend if you plan to use the 50g emulator).
Download and Install Eclipse IDE for C/C++ Developers from http://www.eclipse.org/downloads/.
Extract in your home directory (e.g. /Users/egan):
cd ~ tar zxvf D*/eclipse-cpp-ganymede-SR1-macosx-carbon.tar.gz
You should have an eclipse
directory in your home directory (e.g. /Users/egan/eclipse).
Create an hpgcc3
directory. This directory will contain HPGCC3, the emulator,
and your
projects:
cd ~ mkdir
hpgcc3
Download HPGCC3 into your ~/hpgcc3
directory (you may need to request access from claudio
or ingo
AT hpgcc.org):
cd
~/hpgcc3
svn co http://hpgcc.org/svn-beta/hpgcc3-beta/trunk/hpgcc3-beta hpgcc3
You should have a ~/hpgcc3/hpgcc3
directory with the contents of HPGCC3.
Extract OS/X HPGCC3 updates:
cd
~/hpgcc3/hpgcc3 tar
zxvf reports/osxfiles.tgz
Add the HPGCC3 Eclipse plugin to your ~/eclipse/plugins
directory (NOTE: 0.1.1.jar):
cd
~/hpgcc3/hpgcc3 cp
org.eclipse.cdt.hpgcc3_0.1.1.jar ~/eclipse/plugins/
Install an ARM cross compiler. HPGCC3 does not
include an ARM cross compiler. The compiler used with HPGCC2
is adequate (and recommended):
cd ~ wget
http://sense.net/~egan/hpgcc/hpgcc-osx.tgz tar
zxvf hpgcc-osx.tgz
This will create an ~/hpgcc
directory with the contents of HPGCC2 and an ARM cross compiler.
Why have both HPGCC2 and HPGCC3? Because, HPGCC2
can create binaries for stock 50g ROMs whereas HPGCC3 requires a custom
ROM.
NOTE: The ARM Compiler is a hacked up version of Jean-Yves Avenard's orginal available here: http://www.hydrix.com/Download/Hp/hpgcc/. Either version should work just fine.
Create a go
script to setup your environment and startup Eclipse:
cd
~/hpgcc3
cat >go <<EOF
#!/bin/bash
export HPGCC=\$HOME/hpgcc/2.0SP2
export PATH=\$HPGCC/cc/bin:\$PATH
export
HPGCC3=\$HOME/hpgcc3/hpgcc3 export
PATH=\$HPGCC3/bin-MacOSX:\$PATH cd
~/eclipse ./eclipse
& EOF chmod
700 go
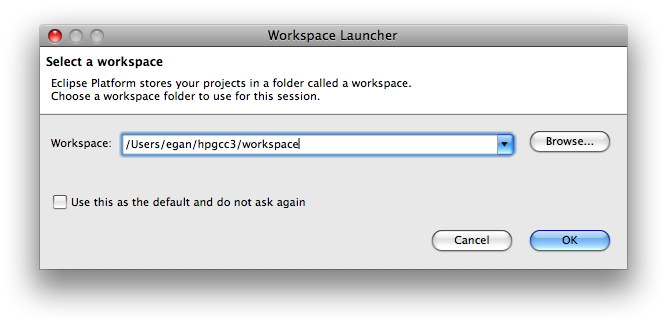
Change the Workspace to $HOME/hpgcc3/workspace,
e.g.:
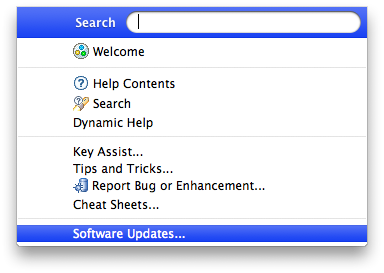
Update the CDT. Select Help, then Software
Updates...:
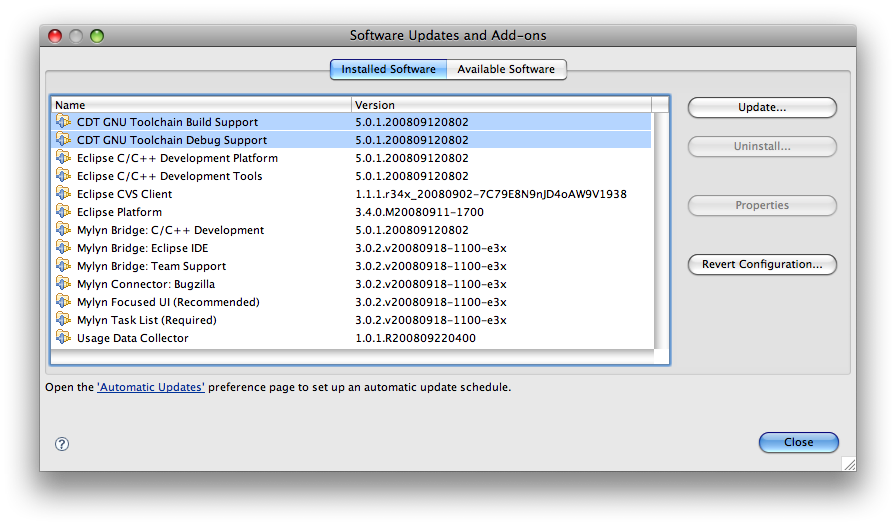
Select both CDTs (use Shift key), then click Update...
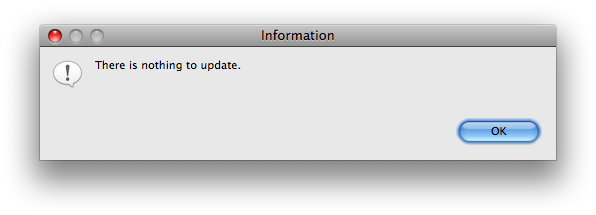
If a new Eclipse install you will receive the following
dialog:
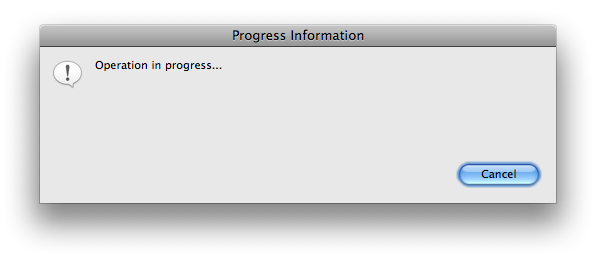
If not, then you will get:
Just follow the prompts, update, and then restart Eclipse.
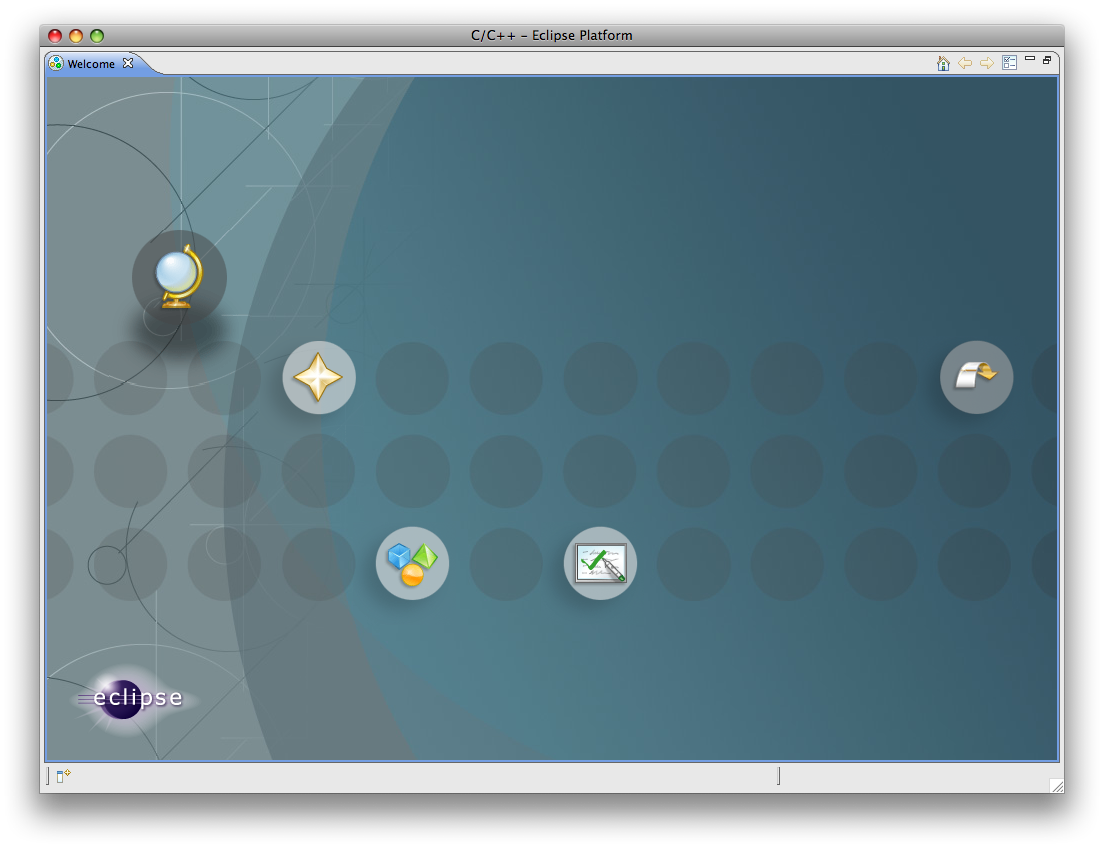
After Eclipse starts for the first time you will be greeted
with the following uninformative window:
The 3D clockwise arrow is the icon for your workspace (far
right).
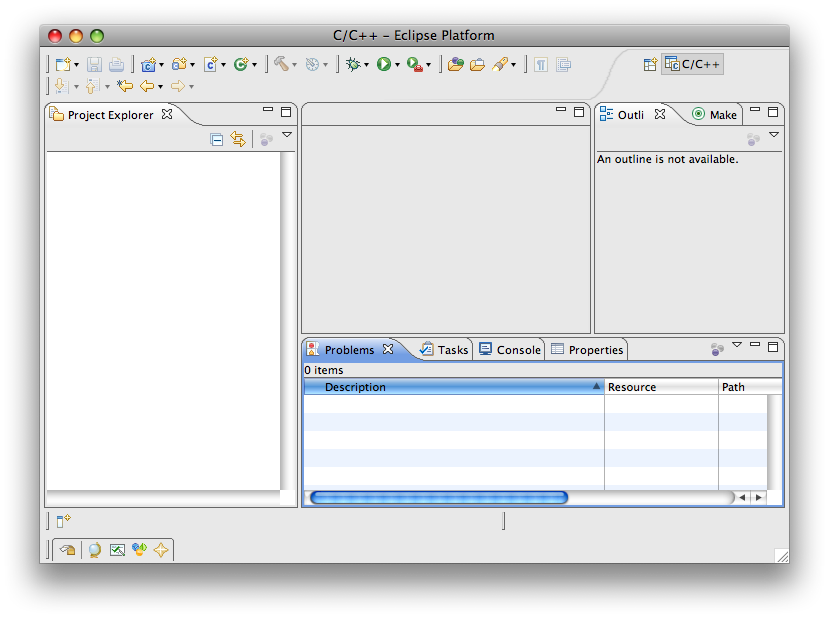
Click it and then you should see the following:
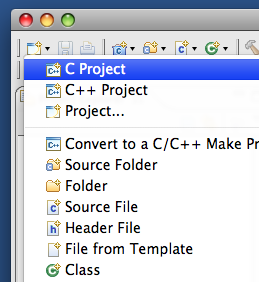
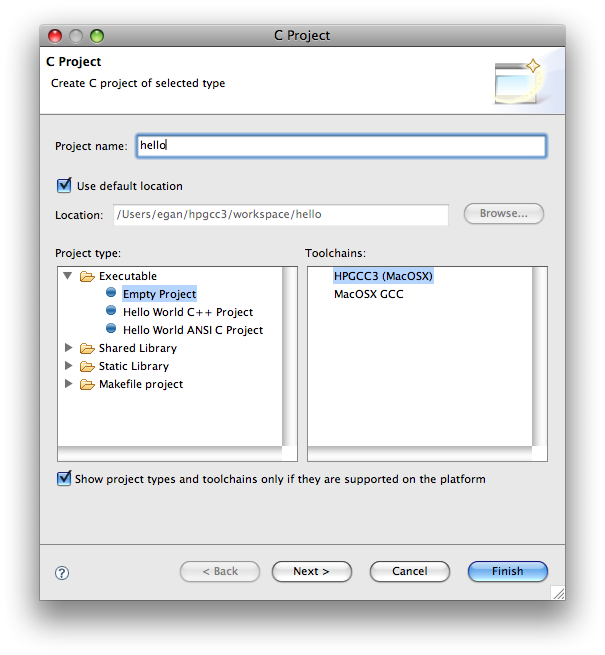
Create hello
project. Click on the top left icon and select "C Project":
Call the Project hello,
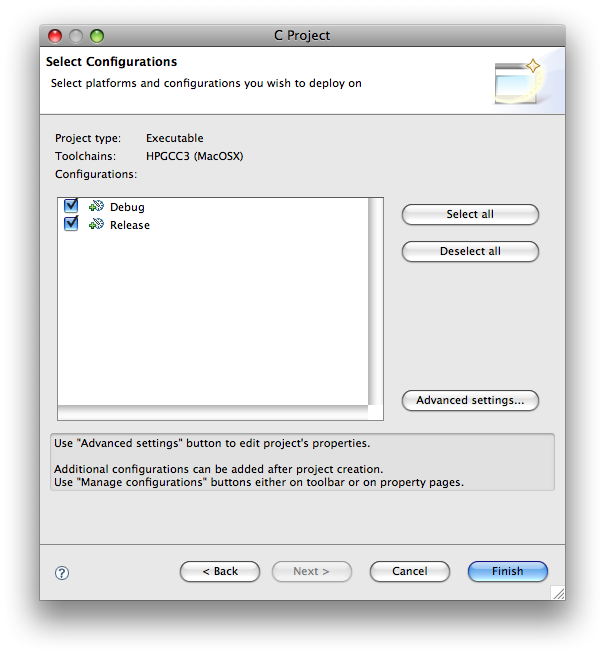
and press Next >.
Click Finish.
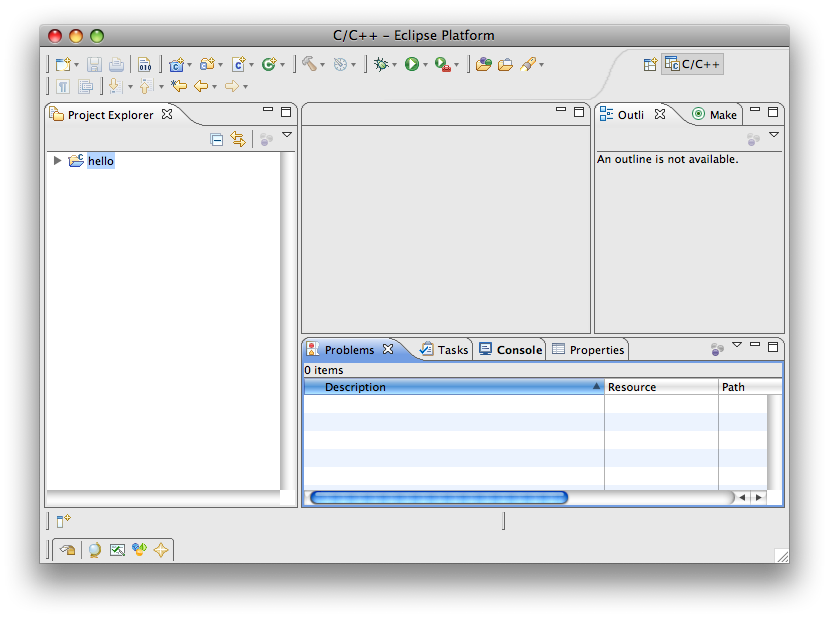
You should see the following after creating the hello project:
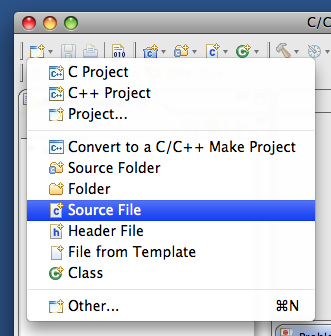
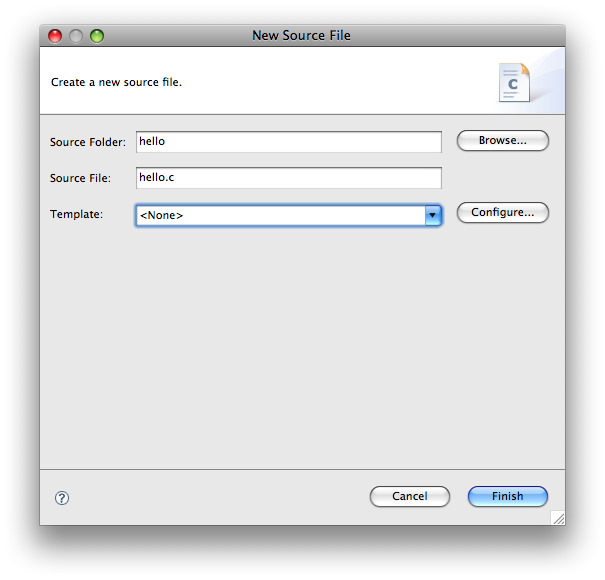
Add a source file to your hello project:
Call the source file hello.c,
then click Finish:
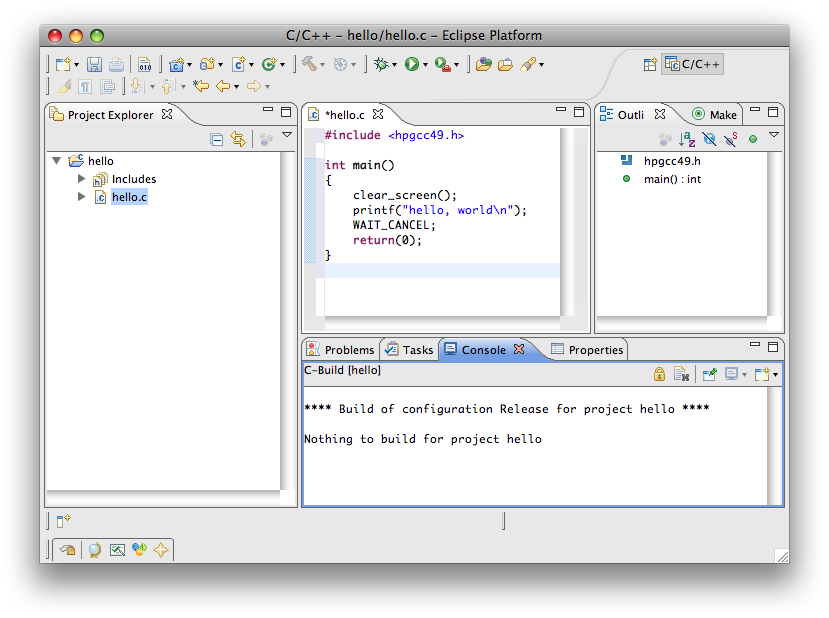
Type in the following program, then Click on the Console
tab in the right bottom pane:
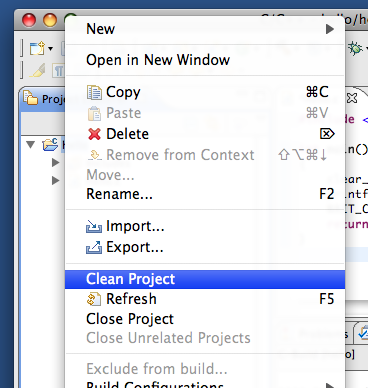
IMPORTANT: Either File/Save All or
Command-Shift-S first, then build your project. I prefer to
right-click on the project then select "Clean Project" to rebuild from
scratch:
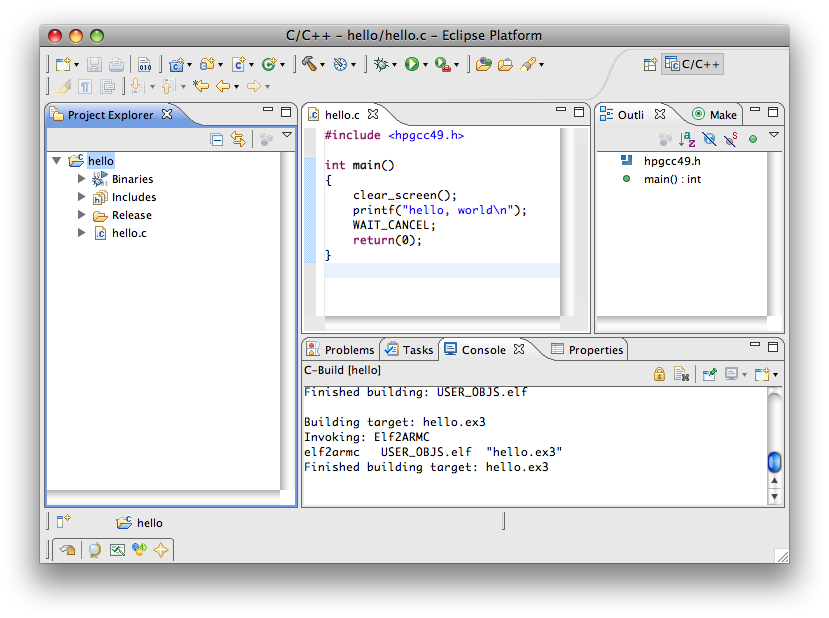
Whoo Hoo! hello.ex3
is built (see the Console output). Next up: Testing
with the emulator.
NOTE: Steps 23-30 are optional.
Edit x49gp config, change basename=...
to basename=hpgcc3/x49gp.
Test:
cd
~/hpgcc3/x49gp ./x49gp
config &
Leave emulator running, but turn it off (because you are
going to write to the SD card).
Copy hello.ex3
to sdcard.dmg:
cd
~/hpgcc3 open
x49gp/sdcard.dmg cp
workspace/hello/Release/hello.ex3 /Volumes/X49GP/ hdiutil
detach $(df | grep X49GP | head -1 | awk '{print $1}') # this will
eject sdcard
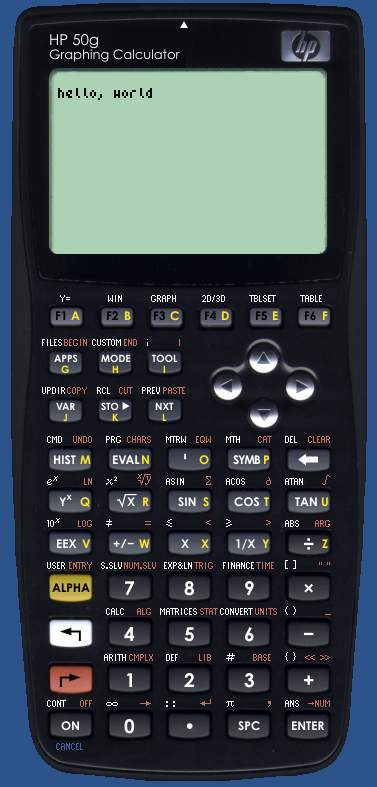
Run hello.ex3,
from the emulator click in:
HELLO.EX3 3 ->TAG EVAL
Ta da!
To test on the real thing you will need to update the ROM
with the contents of the ~/hpgcc3/hpgcc3/HPGCC3-ROM
directory. Just copy to your physical SD card and flash
update your 50g using the standard flash method. Then use
HPConnect or shuttle tranfer via SD card to copy hello.ex3
to your 50g. Now run it.