82240B Printer Emulation for Windows, Linux, and Possibly Mac
Abstract
This article will document how to use your desktop as a 82240B printer with text and graphic support. Examples include:
The freely available DOSBox and Jarno Peschier's DOS-based 82240B Emulator
will be leveraged to provide this functionality.
Parts List for Physical and Virtual Calculator Printing
Additional Parts for Physical Calculator Printing
Additional Parts for Virtual Calculator Printing
DOSBox
Jarno Peschier's 82240B Emulator is DOS-based. A DOS environment with a serial port and CGA graphics is required. Although it is possible to run DOS applications within Windows, this particular program does not play well with XP.
DOSBox is both an x86 emulator and a DOS emulator bundled as a single easy to install package. Of all the solutions capable of providing a platform for legacy DOS applications; DOSBox is the best. DOSBox is available as source or binary for just about every popular platform. I have tested DOSBox on Linux/x86, Linux/ARM, OS/X/Power, and Windows XP without issue.
Linux users can choose to use DOSEMU instead of DOSBox. DOSEMU performs better since it does not need to emulate the x86 microprocessor. This article will only focus on DOSBox since it is ubiquitous across all platforms.
Mac users (Power and Intel) should also use DOSBox. Since I do not have a Mac handy you're on your own. VMware and other similar solutions will work as well.
To install DOSBox visit http://www.dosbox.com, download, and install. Once DOSBox is installed you need to make a few configuration changes:
Windows Users:
serial1=directserial realport:comn
serial2=disabled
serial3=disabled
serial4=disabled
Where comn is your
Windows COM port, e.g. mine is com4.
In the
[autoexec] section add the following
lines:
mount c path to dosbox directory
c:
E.g. mine is:
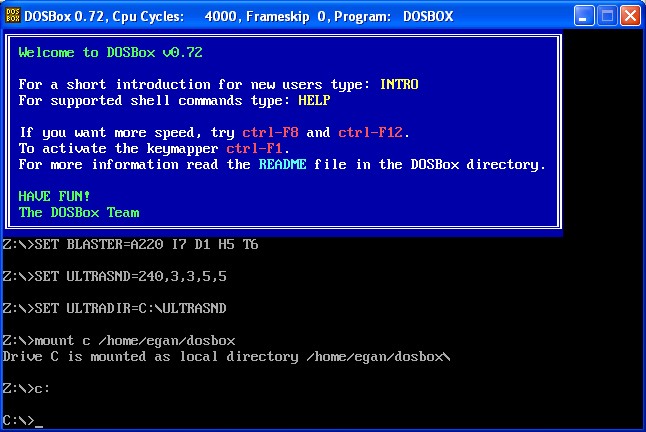
mount c /home/egan/dosbox
c:
Linux Users:
[serial]
serial1=directserial realport:serialport
serial2=disabled
serial3=disabled
serial4=disabled

[autoexec]
mount c path to dosbox directory
c:
Where serialport is your Linux serial port without the leading /dev/, e.g. my config file:
[serial]
serial1=directserial realport:ttyS0
serial2=disabled
serial3=disabled
serial4=disabled

[autoexec]
mount c /home/egan/dosbox
c:
Windows, Linux, and Mac users after launch should
be greeted with:
If you are using DOSBox from within Windows a second window (DOSBox Status
Window) should have also appeared. DOSBox errors and warnings will appear
here (you can ignore any FIFO warnings). Linux users will get the same
text in the terminal session that launched DOSBox, and Mac users will get the
output from the system console.
Example status output:
DOSBox version 0.72
Copyright 2002-2007 DOSBox Team, published under GNU GPL.
---
CONFIG:Loading primary settings from config file C:\Program Files\DOSBox-0.72\dosbox.conf
MIDI:Opened device:win32
Serial1: Opening com4
Now, type exit to exit DOSBox.
82240B Emulator
Jarno Peschier's DOS-based 82240B Emulator is relatively ancient. Of the four emulators I was able to find this one was the most feature rich and worked on Windows and Linux without any issue.
To install:
To run, just launch DOSBox and type and the C: prompt:
C:\>cd hp82240b
C:\HP82240B>hp82240b
After you see the splash screen (the rest of the snapshots in this section will
be 50% reduced in size. You can right click and download the full-size
version if you like).
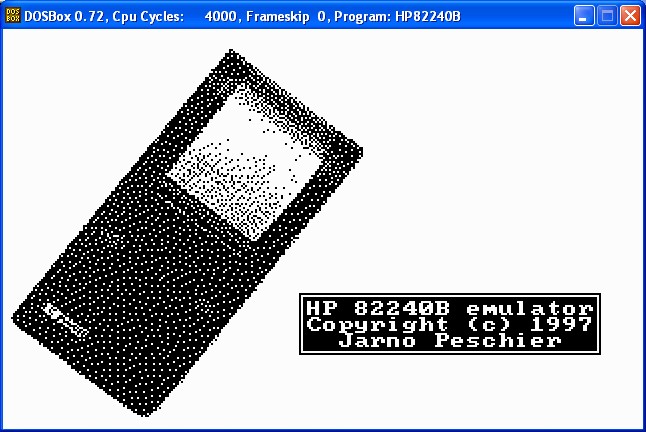
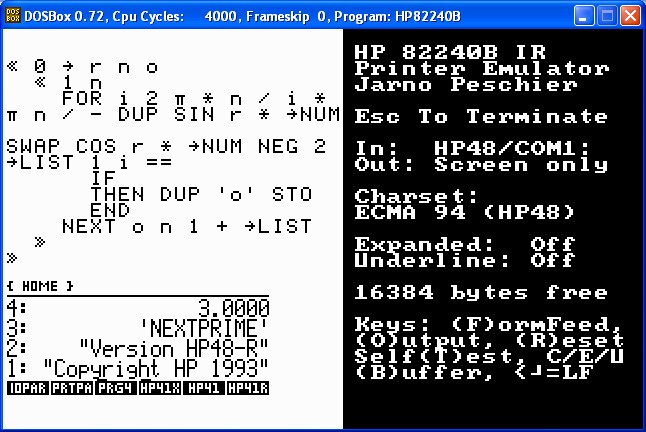
press Enter a two times to start the emulator:
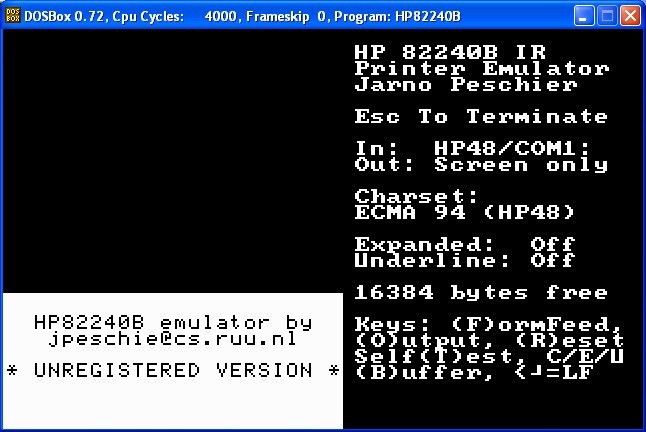
Now simply connect your calculator to your serial port, setup for serial print, and print something: NOTE: Refer to your calculator documentation on how to switch from IR to Serial print.
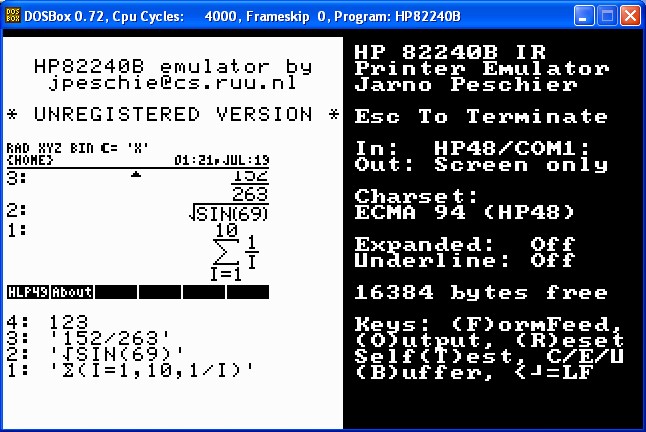
Have more than one calculator? Freely disconnect and reconnect, e.g. I'll disconnect my 50g and connect my 48GX and print a couple of screens:
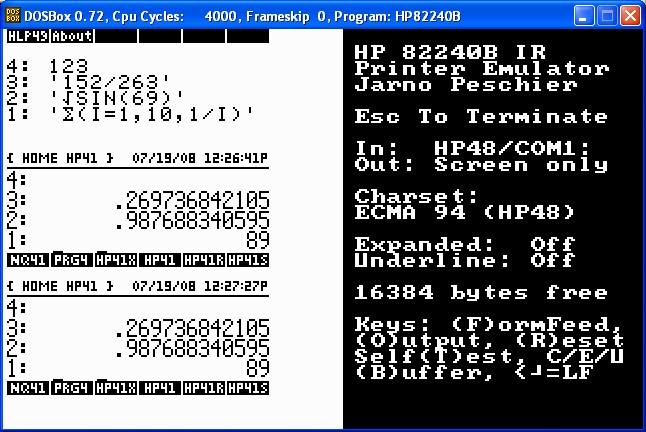
If you want to capture the output press 'o' in the DOSBox session, this will create PCX files up to 1023 pixels tall. If an existing PCX file is present or if 1023 pixels is reached, then the PCX file counter will be incremented and a new file created. E.g. I pressed 'o' and printed more stuff from both my 48GX and my 50g:
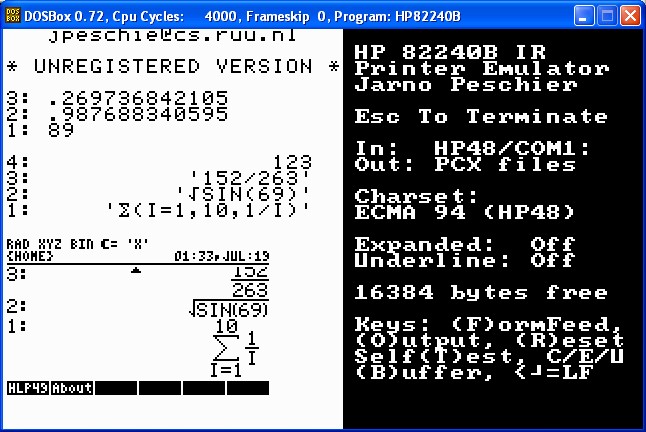
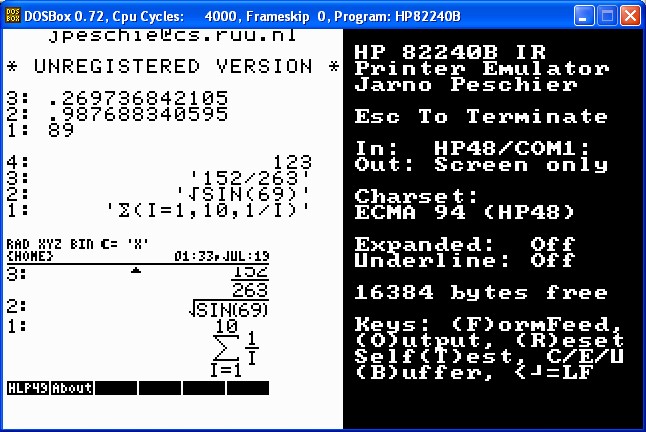
Notice how "Out:" change from "Screen only" to "PCX files". If I press 'o' again the PCX file will be closed and the "Out:" will return to "Screen only":
The rest of the keys should be obvious, Enter for a linefeed, F for a form feed, etc...
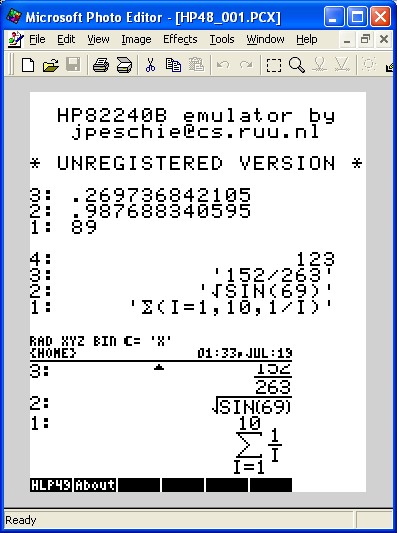
Both Linux and Windows can read PCX files. If I look in my dosbox/HP82240B directory I should see a HP48_001.PCX file.
C:\home\egan\dosbox\HP82240B>dir
 Volume in drive C has no label.
 Volume Serial Number is 60FE-9BE3

 Directory of C:\home\egan\dosbox\HP82240B

07/19/2008  01:40 PM    <DIR>          .
07/19/2008  01:40 PM    <DIR>          ..
07/19/2008  01:37 PM             8,552 HP48_001.PCX
03/07/1995  12:48 PM            37,238 HP82240B.DAT
11/14/1996  11:37 PM               208 HP82240B.DOC
01/07/1997  03:44 PM            89,179 HP82240B.EXE
07/19/2008  01:16 PM                67 HP82240B.INI
.The HP48_ prefix is the "Charset:" used. Utilizing various graphics tools I can print, edit, or display the output:
If you have been following along then congratulations! You have successfully emulated a 20 year old printer, a 27
year old operating system, and a 23 year old processor just to print output from
a 15 year old calculator (48GX).
NOTE: Although all the screen shots are of Windows, the Linux output sans the borders is exactly the same.
Ok, that was easy. How about virtual calculator to virtual printer printing?
EMU48 Printing
Printing from EMU48 is really no different than a physical calculator.
To enable this you will need a virtual serial cable.
Virtual Null Modem Cable Setup (Windows Only):
command> install 0 PortName=COM10 PortName=COM11
       CNCA0 PortName=COM10
       CNCB0 PortName=COM11
command> list
       CNCA0 PortName=COM10
       CNCB0 PortName=COM11
The New Hardware Wizard should launch (twice)
to confirm the installation of new "hardware".COM10 and COM11 were arbitrary, it could have been any pair of unused numbers.
Now you have a virtual null modem cable that will work with any Windows application. You can use this for printing, Conn4x, virtual calc to virtual calc transfers, etc...
Next Steps:
Output from my virtual 50g and 48GX:
x48 Printing
Easy, startup x48:
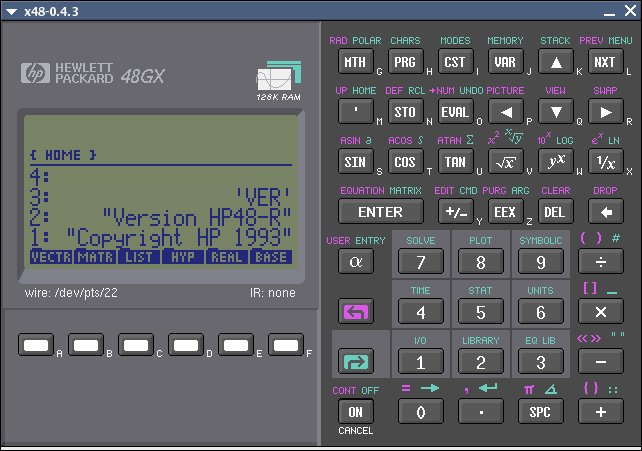
Notice the "wire:" label under the left side of the LCD? The value (/dev/pts/22) is your "null modem cable".
Next edit your DOSBox config file and change the serial port to the name of the "wire:" value sans /dev/, e.g. pts/22 in this case:
[serial]
serial1=directserial realport:pts/22
serial2=disabled
serial3=disabled
serial4=disabled
Now, start/restart DOSBox and HP82240B then print:
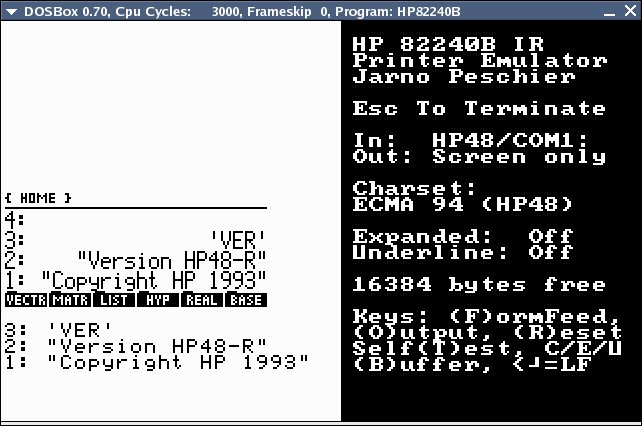
Voila!
Summary
That was easy! Now put your rendered useless 82240Bs on eBay (I still do not have one).
Author
egan@sense.net